How to Take Care of Your Surfboard
Tips for a Long and Happy Surfboard Life
Surfboards are sometimes worth more than just money to us, so taking good care of your board is a good idea to ensure a long and happy surf life! Whether you are a beginner riding waves on a soft top, an intermediate who is trading quivers or you compete in competitions, your surfboard is the most important weapon to ride the waves - obviously!
In this blog, we'll share the most helpful tips and tricks to protect your board from dings and cracks as good as possible, keeping it in peak condition for the best waves around Bali & Sri Lanka!
1. Store your Board in a Board Bag
The Surfboard Bag is more than just a tool to carry your board around with when travelling. It’s your lifesaver and will protect your board from dings, cracks, scratches and they provide protection from UV rays.
Surf Life Hack: Add your clothes, fins and accessories in your board bag and it works as luggage as well! If you also want to protect your board on the way to the beach, cover it with a surfboard sox. It's an invaluable accessory for preventing scratches and dings. Not only does it shield your board, but it also protects against sunlight, ensuring your board looks fresh.

2. Keep your Board out of Direct Sunlight
Even though surfers love the sun (at least most of them), our surfboards prefer the shadow. Long exposure to the sun can cause surfboard materials to degrade, particularly the foam core, which can turn yellow and weaken over time and the wax on the board. Once the wax melted too much, you might need to re-wax your board, which can be quite annoying and time-consuming, especially if you were supposed to just jump into the water. So try to keep your board away from direct sunlight or the heat of a car as much as you can!
Are you warming up before jumping in one of the best surf spots in Bali or Sri Lanka? Here’s another tip: lay the deck of your surfboard down, fins facing upwards, ensuring the perfect conditions before riding the waves.
3. Rinse the Salt & Sand
Did you have a fun surf session and enjoy the ocean? After you come back from your surf session it’s important to rinse your board from the salty water and the sand. The salt in seawater, if left on your board, can be detrimental to your board. Over time, it can wear down the materials and mess with how your board holds up. Rinsing it after your session helps wash away this salt and sand, stopping them from sticking to your board and causing problems!
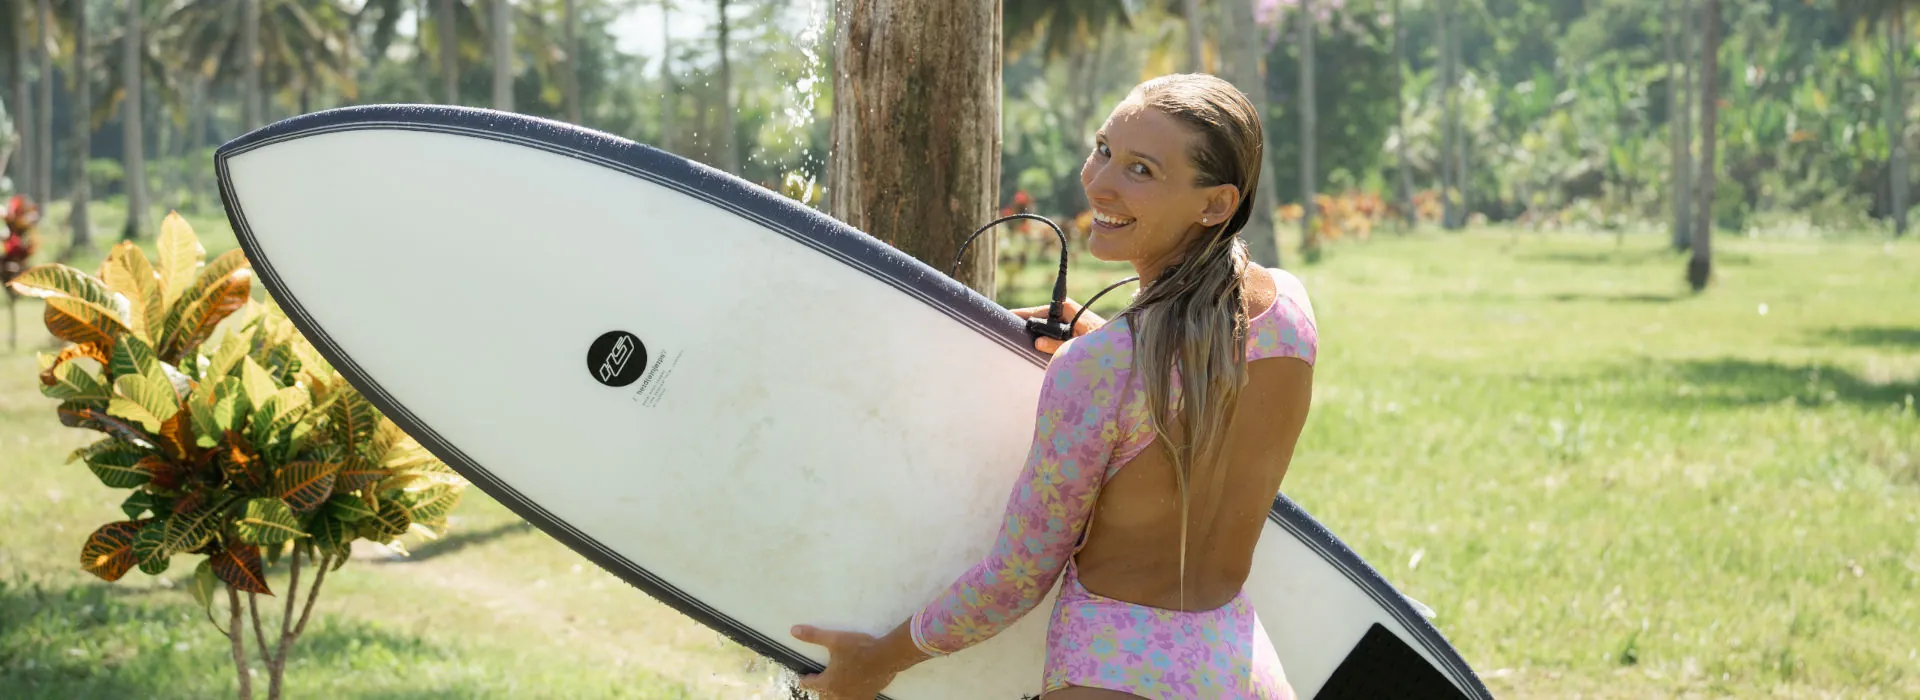
Our camps provide outside showers, ensuring your board stays in good condition. For an extra level of care, use a towel to dry your board and store it in a surf rack.

4. Remove Old Wax Regularly
Over time, old wax can build up, making your surfboard heavy and dirty and affecting the weight, your balance and grip. Removing old wax from your board with a wax comb gives your board a clean slate for optimal grip.
Old wax is a problem. It adds weight to the surfboard and loses tackiness, becoming useless. The most important thing in surfing is the grip. Without it, you couldn’t turn, stand, sit or shred on your surfboard. However, after days, weeks or months of surfing wax begins to weaken. In theory, surf wax should be continuously replaced by a brand new grip. The slightly adhesive feel that you need to avoid unnecessary slippery wipeouts can only be fully guaranteed if you constantly remove old wax and establish stickiness with new product wax. There are two different coats: a base coat and top coats. When the base coat on your board is compromised, or when the two layers mix with dirt in the water, they no longer work as effectively as they were designed to do. This is why it is important to remove wax regularly. With a fresh set of wax, you will have more grip than without it or with old wax.
In addition to base and top coat, most surf wax manufacturers also make products for tropical, warm, cool and cold waters. Use a cold-water wax in the tropics, and it’s going to melt right off. Use a tropical wax in the cold, and you’ll be lucky to even get it on your board. Know your water temp and pick your wax accordingly. If you don’t use the right surf wax, you’ll be slipping and sliding all over the place.
Check out this video and learn how to properly remove wax from your surfboard!
5. Regularly Check on Dings and Cracks
Make sure you check your weapon before and after surfing for any dings and cracks. Catching and repairing them will prevent the damages from getting worse. Dings will let the salty water in and will eventually eat away at the foam inside.
Spot a small ding? No worries! You can handle it solo with a bit of wax or a handy ding repair kit. Here’s how!
Step 1: Gear up
Equip yourself with the essentials / a ding repair kit that you can buy in any surf shop.
Step 2: Prep the damaged area.
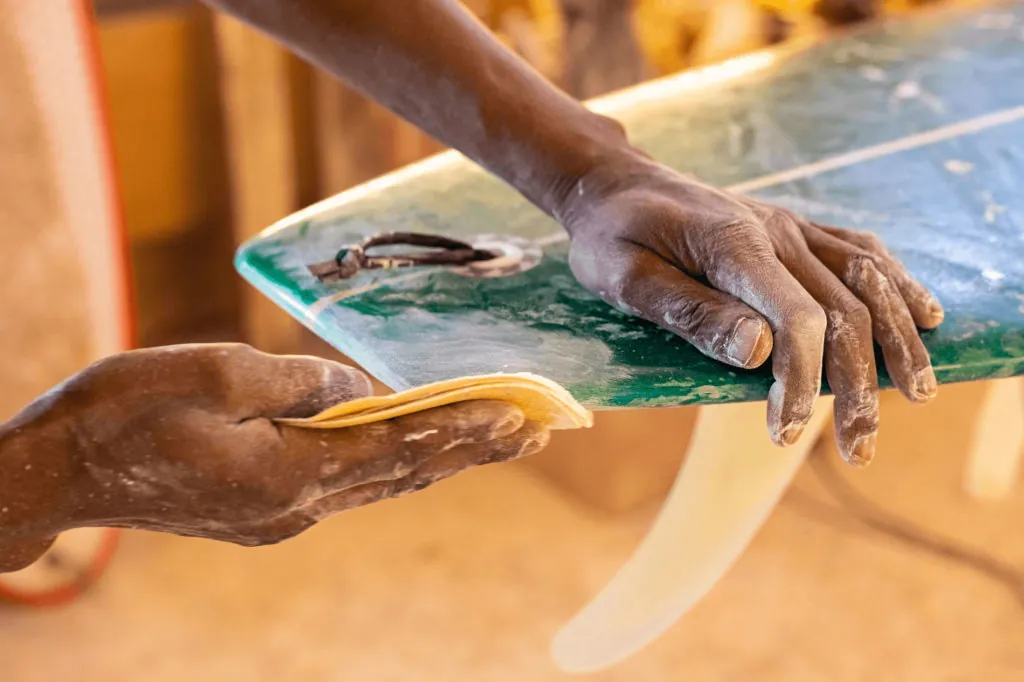
Use the wax comb to remove any remaining wax on the dinged area and clean the surface. Once you cleaned it, use the sandpaper to sand down the area, making sure the resin will bond more effectively.
Step 3: Protect Surrounding Areas.
Make sure you use masking tape to protect nearby regions on the surfboard and minimise sanding. Less mess, more efficiency!
Step 4: Fill, Seal & glass (If Necessary)
For those bigger dings, a mixture of resin, Q-Cell, and catalyst drops will do the trick. Fill the voids and let it cure! Afterwards, cut, mix, and apply fibreglass for that finish touch. And for the ultimate shine, add a glossy finish to make your board surf-ready.
Step 5: Let it sit & Be patience
Good things come to those who wait! You just have to wait for your board to cure for 24-48 hours and then you are ready to ride the waves again!
It is not uncommon for a board to get damaged. Most of the damages are small but some of them need professional repair. If you are renting your board from our Kima Surfboard Quiver, we also offer you board insurance that covers any costs due to a broken or dinged board.
So treat your board with the care it deserves, and it will carry you through countless waves of joy. Ready to ride the waves worry-free? Explore our variety of 5-star quiver boards, book your insurance, and let your surf adventures begin!
Book your stay now!