


How Surfboards Are Made
From Blank to Wave Rider!
Have you ever wondered what goes into crafting your surfboard, your wave-riding friend? At our Kima Surf Camps, we offer a wide selection of high-quality surfboards from the industry's leading brands. While all brands and shapers have their way of creating their boards, for every level and style of surfing, the basic steps are pretty similar. It might look easier than it is, but it's not just about putting fibreglass on foam, adding the fins and the leash and you are ready to ride the waves.
So, how is a surfboard made? This answer lies in a fascinating combination of science, art, and cutting-edge shaping techniques.
A Journey Through Materials
Like the history of surfing, surfboards have come a long way since their beginnings as hefty wooden planks, handmade by woodworkers and ridden by the ancient Polynesians.
However, the tides of innovation began to turn in the mid-20th century, ushering in a great transformation of surfboards.
The journey began with the birth of lightweight foam blanks in the 1950s, followed by the "shortboard revolution" of the 60s. The 70s and 80s saw further refinement of designs, with experimentation in rocker profiles, fin placements, and tail shapes to create boards that are shorter, faster, and radder. The 90s introduced computer-aided shaping and new materials like epoxy resin. Today, the surfboard shaping revolution continues with a focus on sustainable materials, precise design, and shaping boards for individual surfing styles.

Today's shapers use a range of advanced materials, each playing a crucial role in the surfboard's performance on the waves. Let's explore these essential materials:
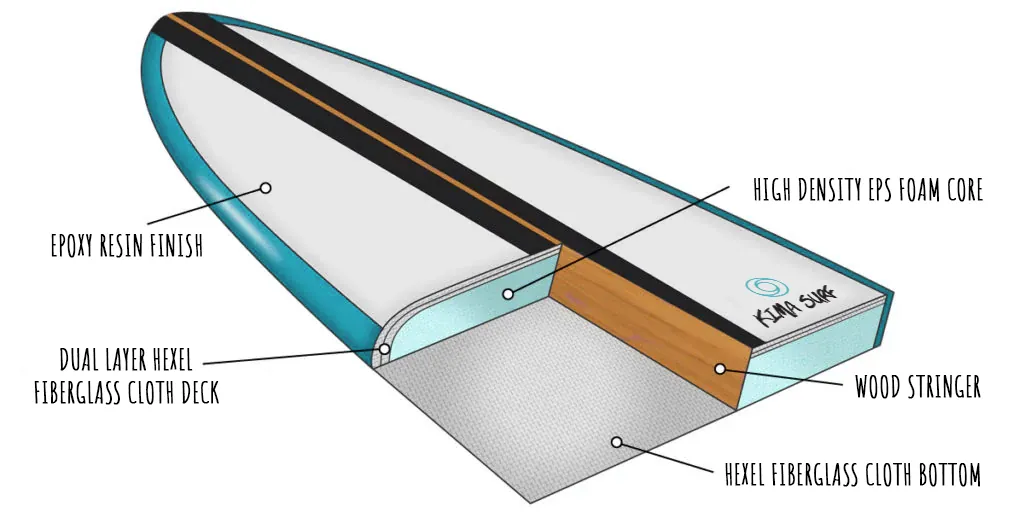
1. Foam Blanks: The core of your surfboard, called the blank, is typically made from either Polyurethane (PU) or Epoxy foam.
PU offers a more traditional feel, with a bit more flex and buoyancy compared to Epoxy. While PU isn't necessarily lighter than Epoxy, it provides a more forgiving ride.
Epoxy, on the other hand, offers superior strength, lightweight and allows for thinner, lighter boards. It floats more than PU which makes paddling and catching waves a bit easier, whereas PU sits deeper in the water. Epoxy tends to be more responsive which is why it is a common choice for high-level surfers in weaker waves.
2. Fibreglass: The core of your surfboard provides buoyancy and shape, but it needs a strong, lightweight "skeleton" to handle the power and impact of the waves. This is where fibreglass comes in. This fibreglass cloth is saturated with resin and laminated onto the foam blank, creating the strong structure of your board.
3. Resin: The resin in your surfboard acts like the glue that holds everything together. Shapers use resin to bind the fibreglass cloth to the foam blank. They will add multiple layers of fibreglass cloth and resin for extra strength and durability.
4. Stringer: You can see the stringer of your board like the spine of your surfboard. A thin wooden rod running from the tip of the board all the way to the tail. This is used to strengthen the board and prevent your board from snapping by your weight or the power of the wave. It adds more strength, but at the same time, the stringer allows the board to have some flexibility. After developments in surfboard technology, nowadays there are different types of stringer boards like stringer less or carbon stringer, designed for different conditions.
5. Fins: A surfboard without fins is a bike or car without a steer, essential for controlling and steering the board on the waves. Fins come in different materials, each with its own advantages. Such as:
Fibreglass:
Traditional fins for a good balance of flex and responsiveness.
Honeycomb:
Lightweight fins are constructed with a honeycomb core encased in fibreglass. Good for smaller waves or performance longboards.
Flex:
Made from flexible materials like rubber or plastic, flex fins are perfect for beginner surfboards since they are less sharp than other types.
Carbon Fibre:
For the more advanced surfers, carbon fibre fins are the go-to choice. Lightweight, strong, and stiff, they provide the fastest response and direct connection between surfer and board, ideal for powerful moves and fast turns.
5 Steps from Blank to Wave Rider
1. Prepare & Select Materials
Preparation is key! Having the right tools and the perfect blank is the basis for shaping a good board.
2. Rough Cut & Shape the Blank
Time to get creative! This step involves transforming the blank into the desired surfboard shape. By using shaping tools and templates, the overall outline, thickness, and rails of the board will be roughed out.
3. Finetuning the Rocker
In the next step, the rocker will be refined. The rocker is the curve of the board, that impacts the board's performance. It will be shaped based on the desired paddling, turning, and wave-catching capabilities of the surfing style.
Need a refresher on the anatomy of a surfboard?
Read here!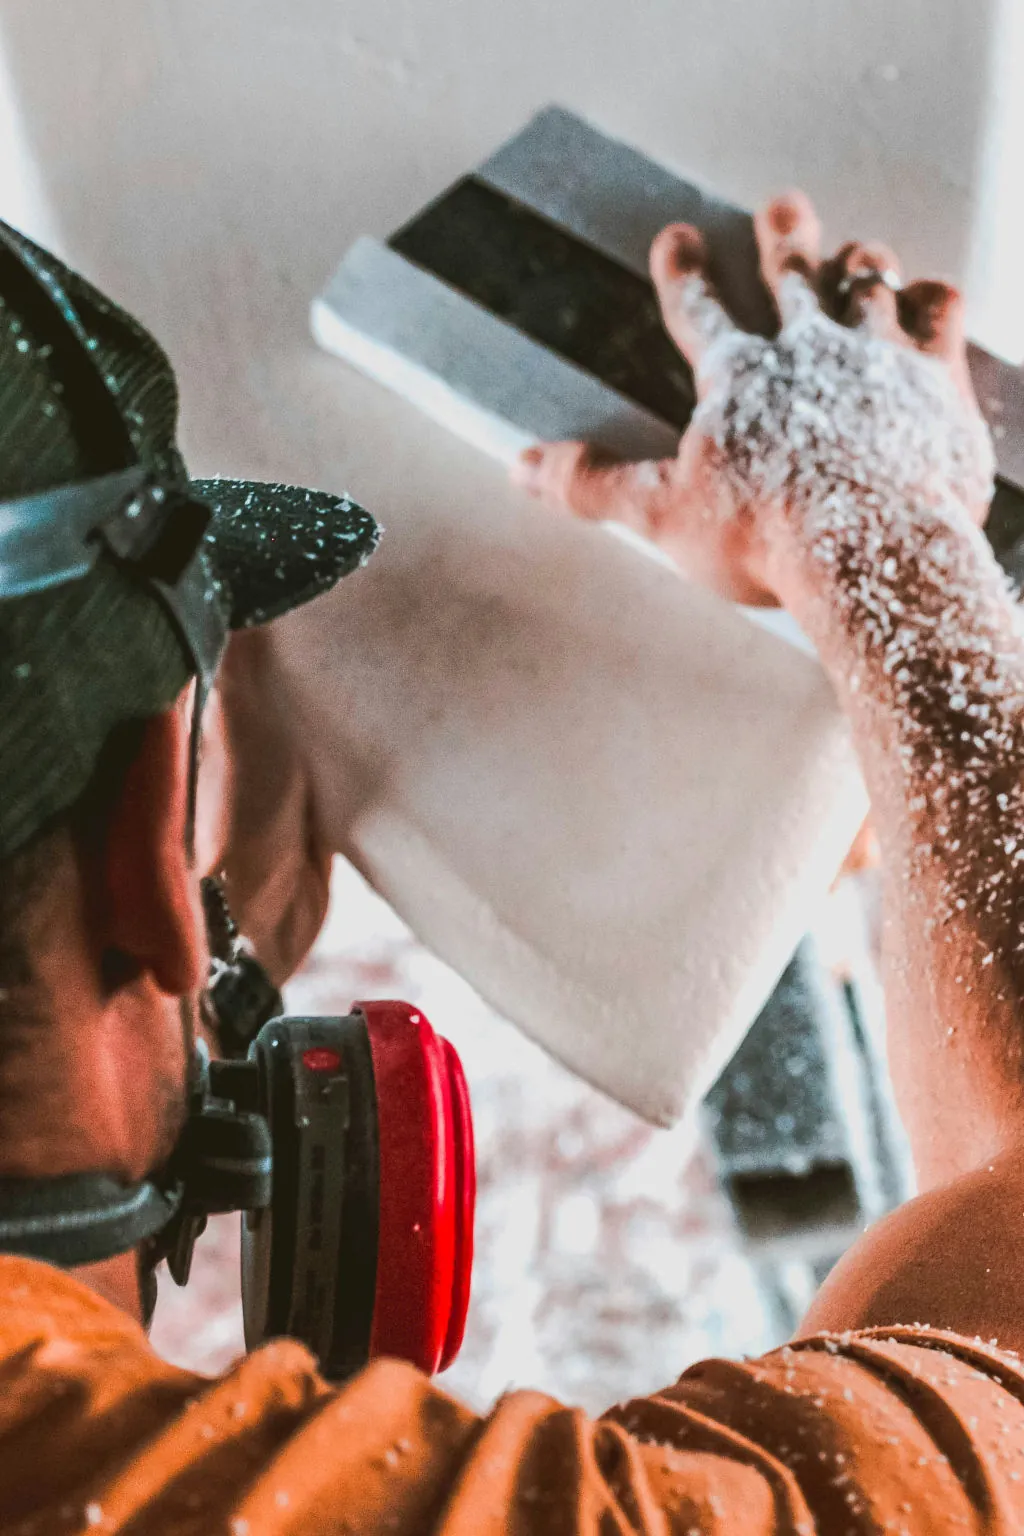
4. Fin Set Up & Rails
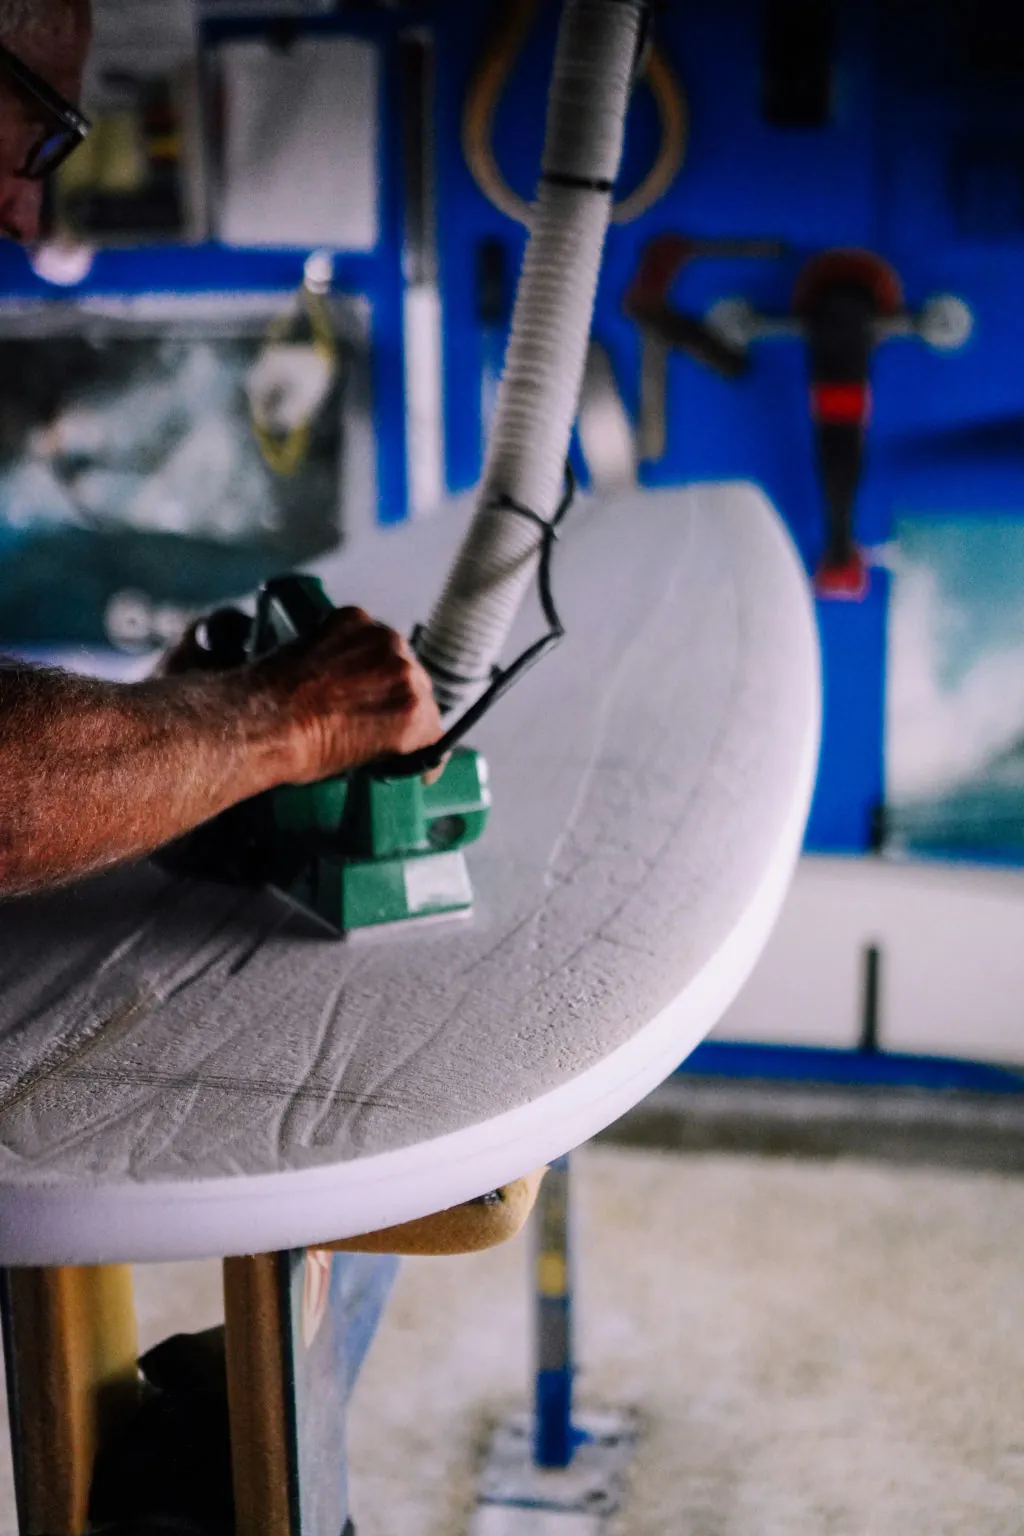
Choosing the desired fin setup and placement is crucial for the board's performance. After the placement of the fins was decided, all imperfections on the blank will be removed. With a surform, the rail bevel will be cut from nose to fins, giving the board a more rounded-edge shape. With the deck facing up, rails will be turned with the planer from nose to tail and finally rounded by using a light sanding block to reduce the sharp edges.
5. Fibreglass for Strength!
Now, it's time to add strength and durability. Time to apply layers of fibreglass cloth and resin to laminate the surfboard, creating a strong and watertight shell.
6. Finishing touch, personalising & surfing!
The final stage! The board gets prepared for its debut by sanding, polishing, and adding any personalised touches (like artwork, stickers or logos) that make the board unique. After the board is dried, tail pad and leash can be attached, the board can get waxed and the board is ready to hit the waves!
