

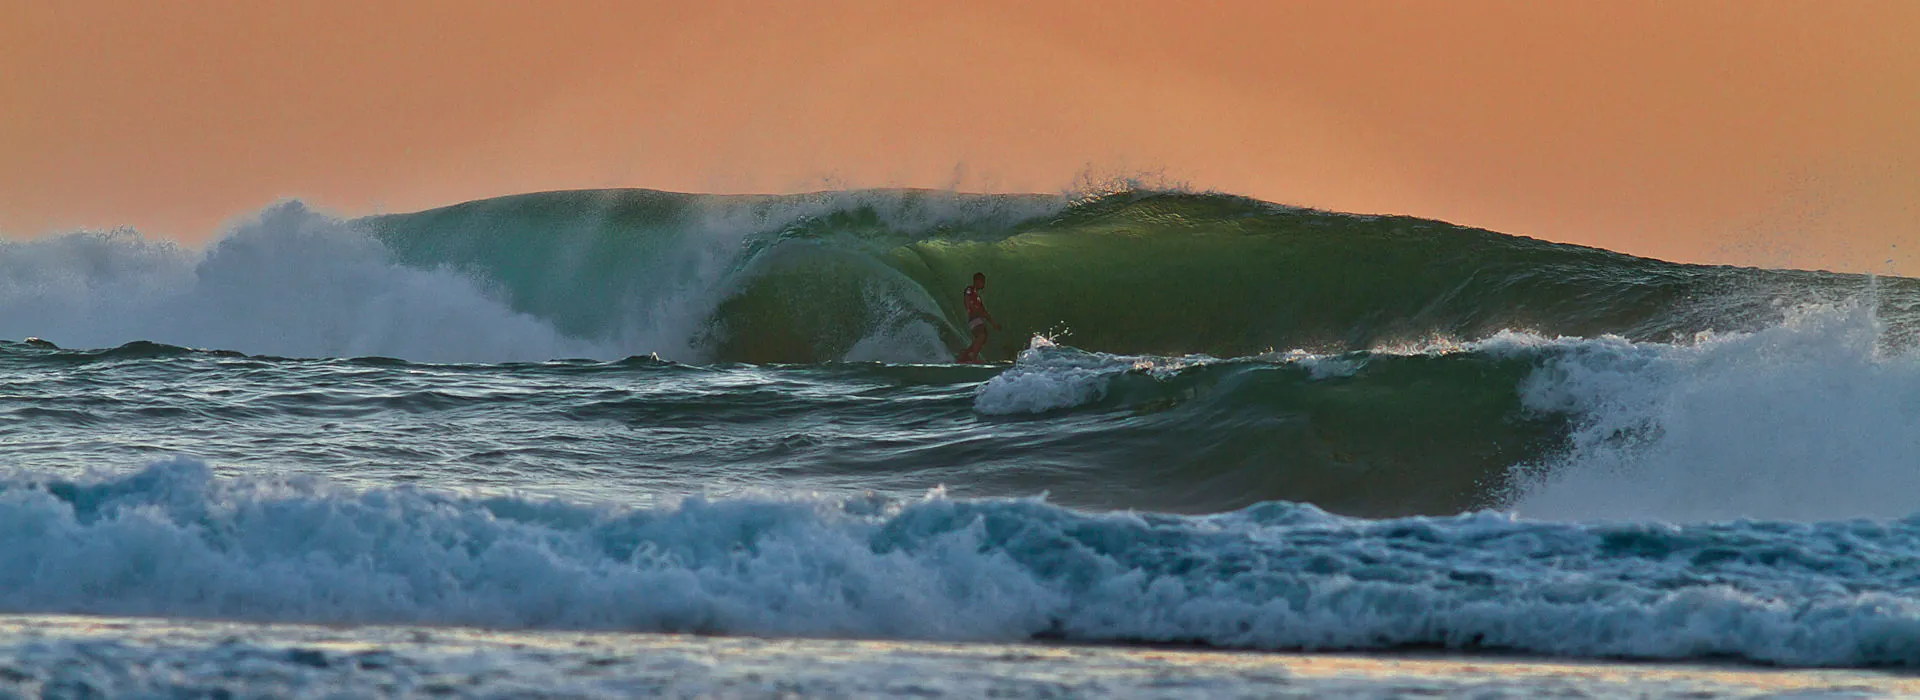
How to read the Waves
About Surf Breaks and the Different Types of Waves
Besides our surf guided sessions twice a day, we also offer 3 surf theory sessions per week, where we teach you about the surf etiquette, how to read a forecast, about swell and tides , the different types of surfboards and more.
One of the most common questions raised by our guests is:
“How to read the waves?”
Reading the wave is a skill that comes with time and experience, the more time you spend in the water and the more you surf different types of waves the better you will be at it. But before actually learning how to read a wave you must learn about surf breaks: types of surf breaks, how they work, and what type of wave they can generate. Once you have the answers and the knowledge about it, it will be much easier for you to learn how to read the waves, that’ll also have a big positive effect on your surfing.
Types of Surf Breaks
There are three main types of surf breaks:
1. Beach Break:
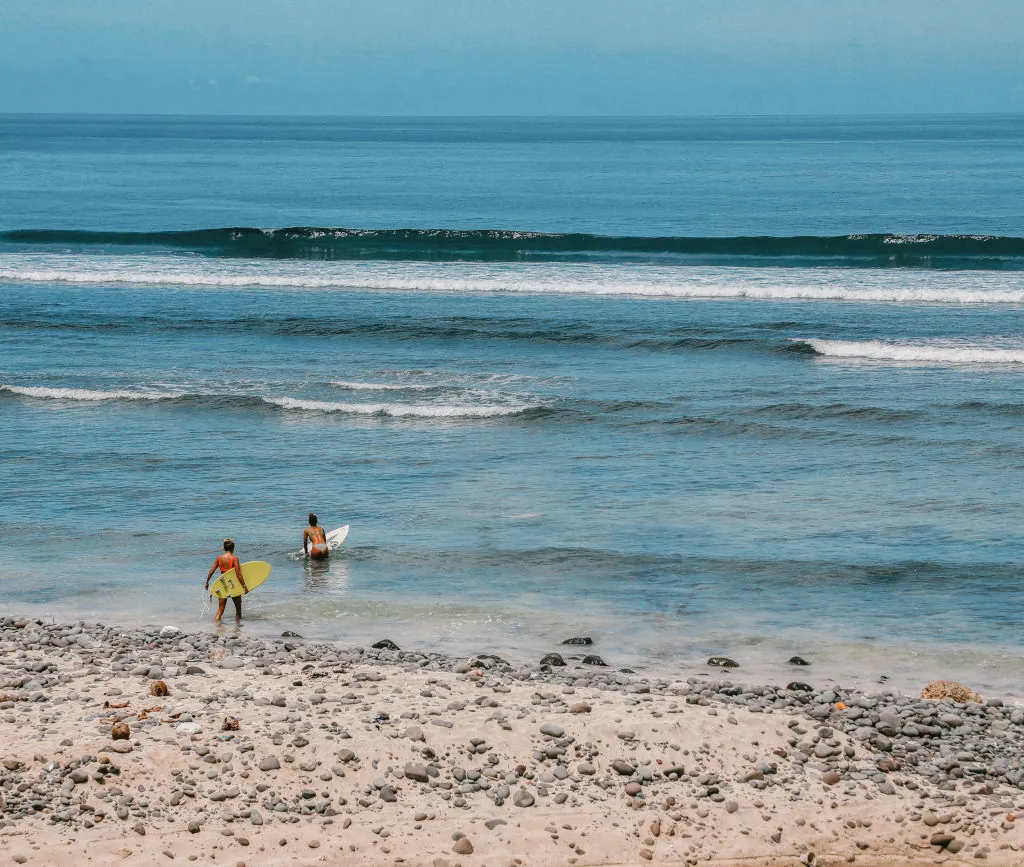
A beach break is where the waves break over a sandy bottom, which means that there is only sand. This is th reason why Beach Breaks are especially good for beginner surfers. Both in Bali and Sri Lanka, there are many Beach Breaks close to our Camps. The big disadvantage of a beach break is that the sand is always moving, which means that the formation and quality of the waves can change a lot from swell to swell, but some places because of their geography and predominant currents, are able to maintain with consistency the sand banks in the same formation.
2. Reef Break:
Reef breaks are characterised by waves breaking over a reefy bottom, such as corals or rocks. Reef breaks have a big advantage over beach breaks, and the reason is that the reef is always there, it doesn’t move and it doesn’t change. This is a key factor when it comes to wave formation, almost every wave breaking in a reef break will break in the same way.
3. Point Break:
Point breaks are spots where geographically speaking the waves break in a point of land. Point breaks can either be with sandy bottom or reef. Point breaks are normally characterised by long waves (left or right) with different sections, meaning that depending on which section of the wave you are in, the wave will generate different possibilities (more steep and faster, barrel, mellow and slow).
Types of Waves
There are 4 different types of waves that can be generated by swells depending on the type of break and bank formation:
1. A right wave:
A right hander is a wave that breaks to the right from the perspective of the surfer. These waves are surfed to the right.
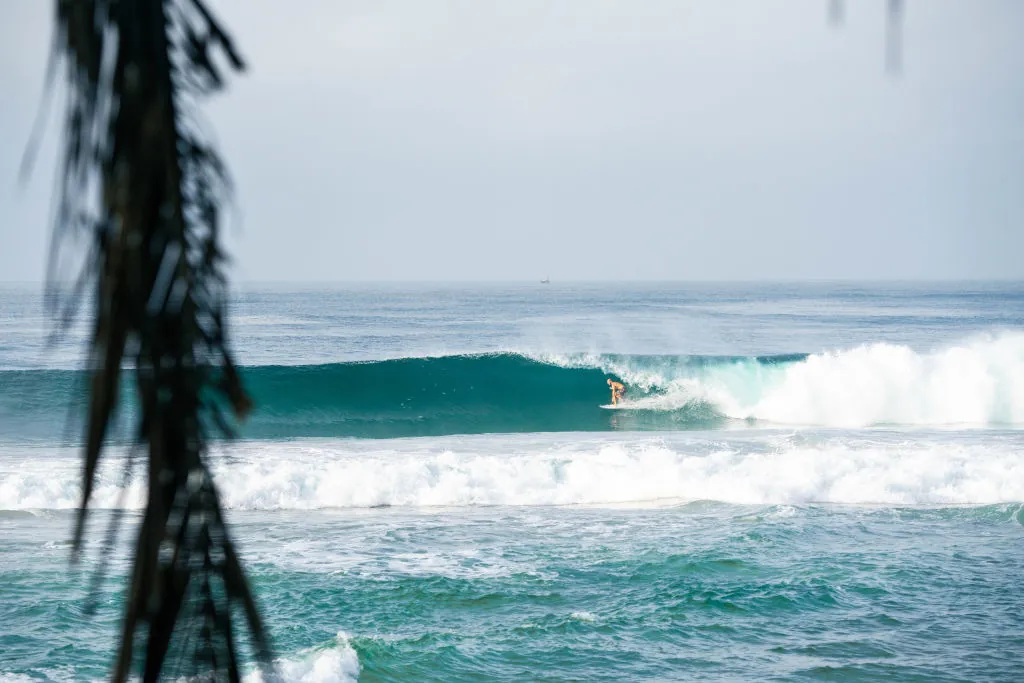
2. A left wave:
A left hander is a wave that breaks to the left from the perspective of the surfer. These waves are surfed to the left.
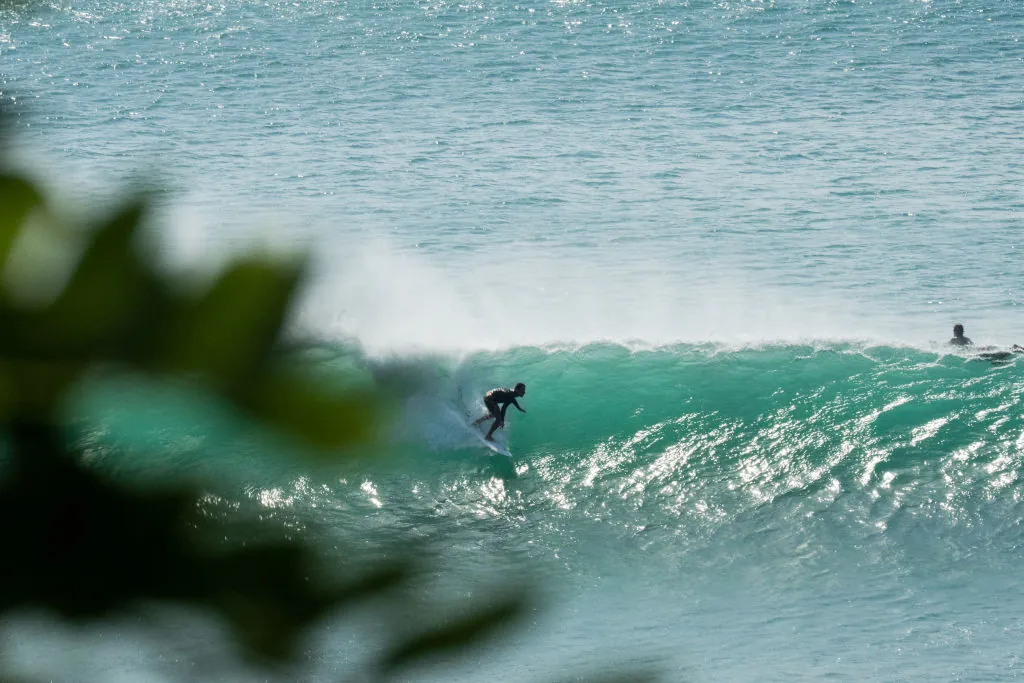
3. A a-frame wave:
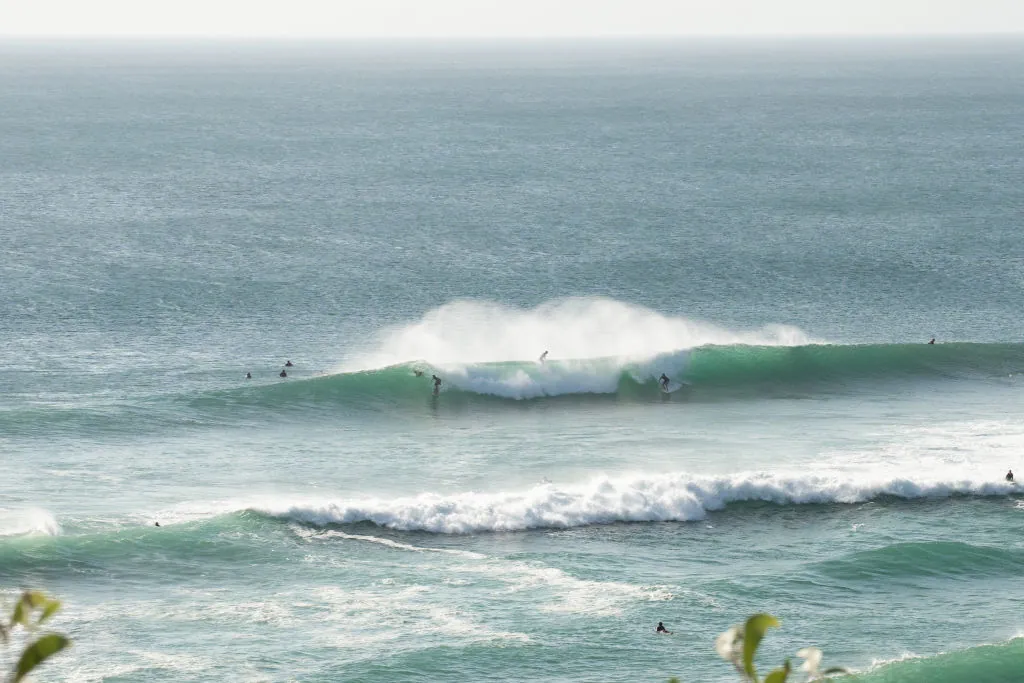
A a-frame is a peak-shaped wave surfable for both sides: right and left.
4. A close-out wave:
A close-out is a wave that breaks in a way that makes it very difficult to surf it to a specific direction.
Parts of the Waves
A breaking wave is divided into different parts:
1. Peak:
The peak is the highest point of the wave and also the first part of the wave to break.
2. Shoulder / Face:
The shoulder is the part of the wave that is not broken yet.
3. Curl / Pocket:
The curl or pocket is the part of the wave with the most energy. It is the most optimum place for a surfer to ride the wave.
4. Tube / Barrel:
A cylinder formed by the wave when it is breaking, and also one of the top surfing manoeuvres when it comes to skills and sensation.
5. Lip:
The lip is the top part of the wave that is about to break. The greatest amount of the wave’s energy is concentrated in the lip.
6. Impact Zone:
The impact zone is where the lip of the wave will break on the flat water. This is where most of the wave’s power is released and the area that should be avoided by surfers.
Watch our Reel and follow us on Instagram if you want to learn more:
How to Read The Waves
Most of what you learn about reading waves comes with experience. It is hard to explain in words how to read the waves but there are a few points that can be separated that are important for you to keep in mind:
1. Peak Positioning:
When Paddling into a wave try to first identify the highest point of the wave. Paddle to the peak, turn around and paddle for the wave.
2. Identifying & mind reading waves:
Keep on track the average time between the sets. Keep an eye out for an “indicator”. An indicator can be a boat anchored out in the sea, or an outer reef (shallower reef in the line up where a fist wave might break when the set is coming). An indicator can help you to predict and prepare yourself for the next set of waves.
3. Stay focused:
Mind reading and mentally catching waves. Visualisation is a great mental tool to be used to improve your performance. Visualising yourself surfing and riding the waves before actually getting into the water, will help you to surf more relaxed, be better prepared, knowing what to expect without overthinking.
